
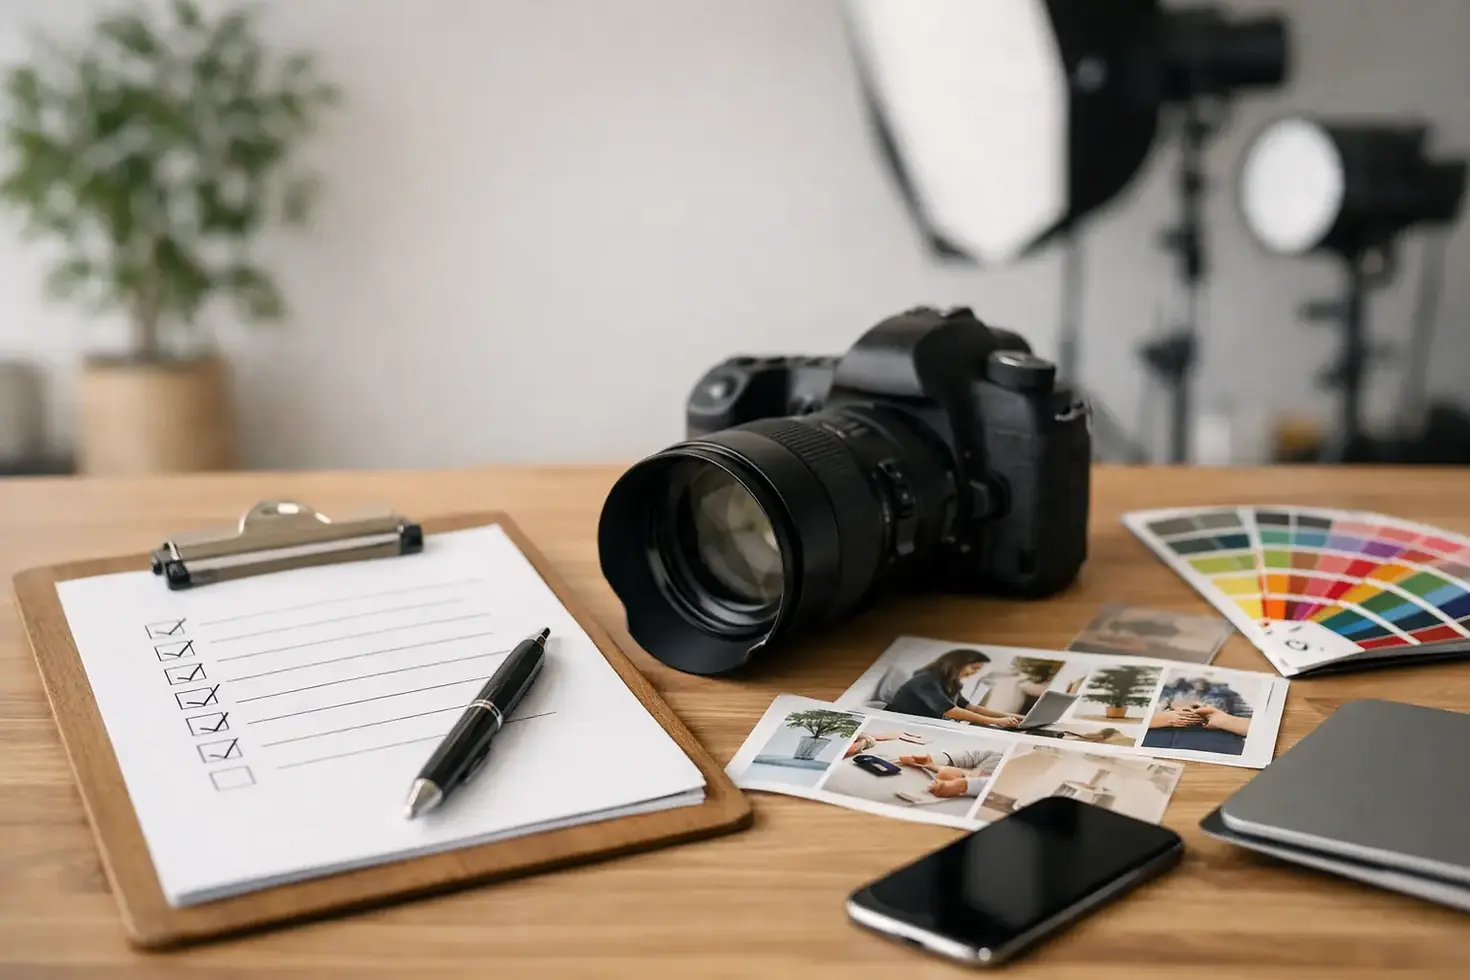
Brand Shoot Planning Checklist for Better Images
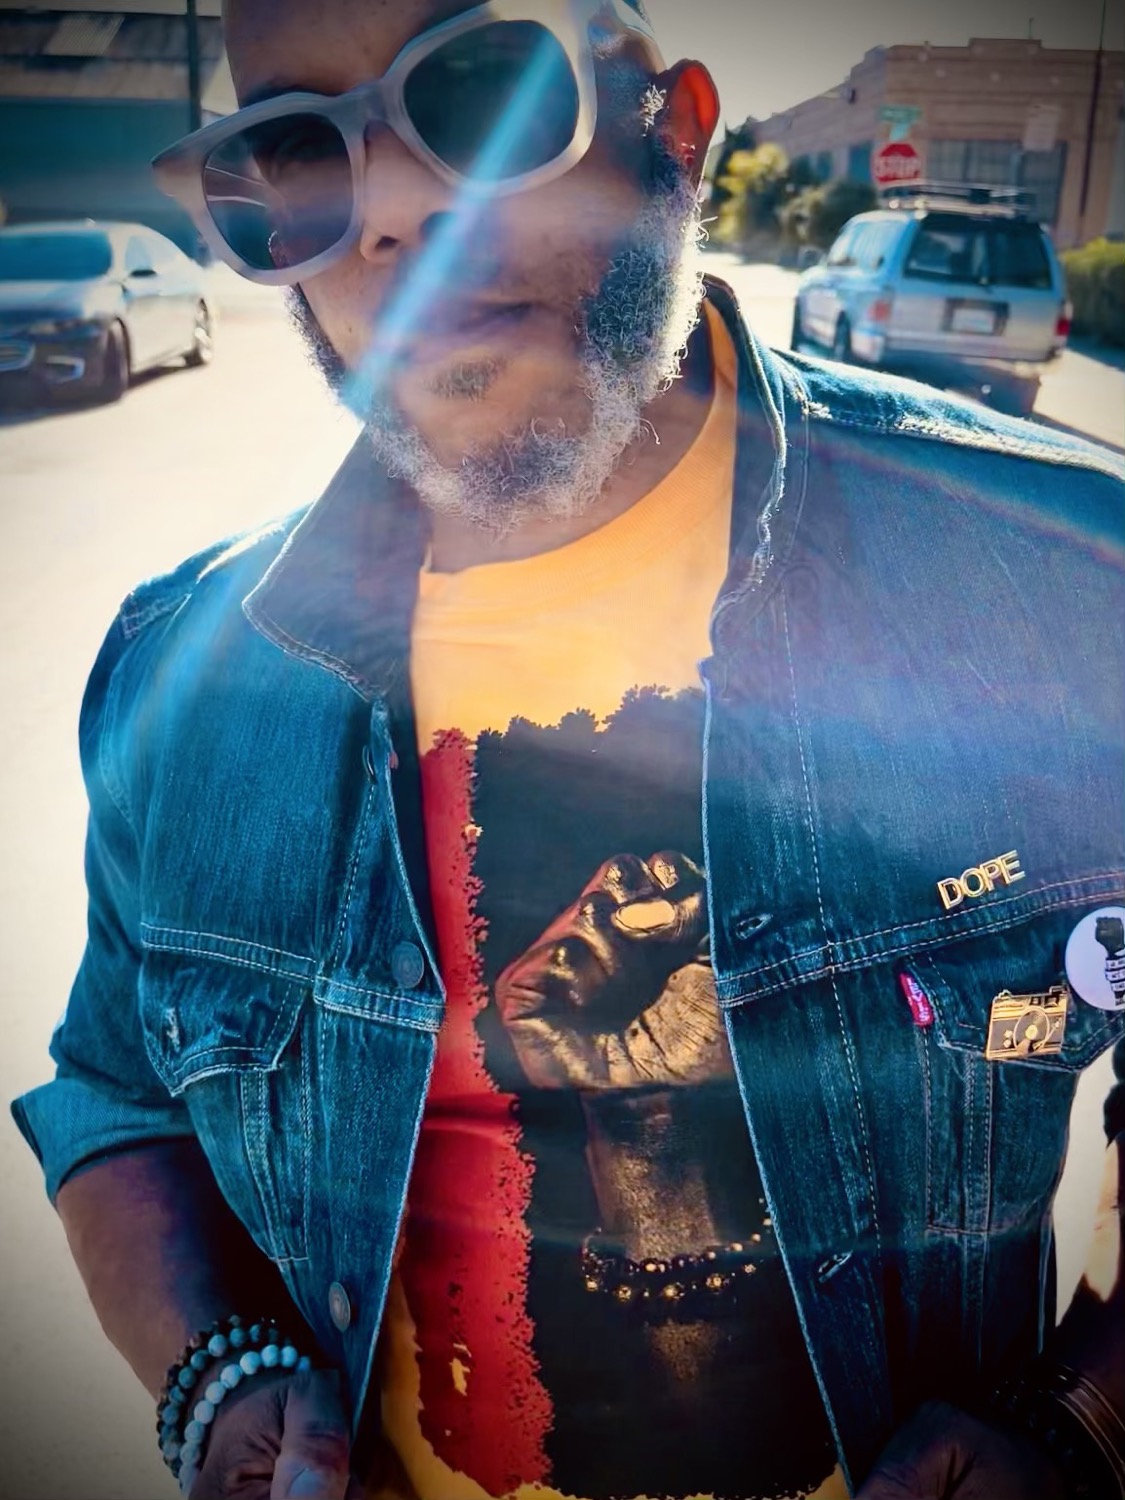
Your website is ready for a refresh. Your LinkedIn profile needs more than a cropped event photo. Your next launch deserves images that look intentional before anyone reads a word. A strong brand shoot planning checklist turns that pressure into a clear creative plan, so your final gallery feels cohesive, useful, and distinctly yours.
Brand photography is not just about getting a few good portraits. It is about creating a visual system for how people meet your business, your work, and your point of view. The best sessions balance polish with personality. That takes decisions before the camera comes out.
Start With the Job Your Images Need to Do
Before choosing outfits or saving poses, decide where your images will live. A brand shoot for a consultant rebuilding a website needs a different mix than a founder announcing a product, a creative updating a portfolio, or an executive preparing for press opportunities.
Write down the next three to six months of marketing needs. Think beyond the homepage. You may need a clean vertical portrait for LinkedIn, wide images with negative space for website banners, speaking or working images for a media kit, and relaxed social content that does not feel overly staged.
This step prevents a common problem: receiving beautiful images that do not fit the spaces where you actually need to use them. A great photograph can still be the wrong crop, orientation, or mood for the job.
Define one clear message
Ask yourself what someone should feel in the first five seconds after seeing your images. Calm authority? High-touch expertise? Editorial edge? Warm, capable leadership? Choose one primary impression and one supporting quality. For example, a financial advisor might lead with trustworthy and modern, while a fashion designer may need expressive and exacting.
You do not need to turn your brand into a mood board cliché. You do need a point of view. That point of view guides everything from the backdrop to the pace of your expressions.
Build the Visual Direction Before You Book Details
Collect reference images for lighting, composition, color, styling, and energy. Include photos from outside your industry if they capture the feeling you want. A restaurant owner may be drawn to the sharp light and clean tailoring of an editorial portrait. A therapist may prefer natural window light, textured surroundings, and a more grounded pace.
Bring references to the planning conversation, but do not expect to recreate another person’s image frame for frame. Your face, body language, location, and brand should lead. References are a vocabulary, not a blueprint.
Choose a location that supports the story
An Oakland studio creates control: consistent light, privacy, clean backgrounds, and room to focus on expression. It is often the right choice when you want a refined, versatile library of headshots, portraits, and simple brand content.
On-location sessions add context. Your office, workspace, storefront, neighborhood, or a well-chosen architectural setting can show how and where you work. The trade-off is that locations introduce variables: weather, foot traffic, mixed light, permits, clutter, and time spent moving between setups.
Choose a location because it adds meaning, not just because it looks interesting. If a space competes with your message, it will date the images faster than a clean setting ever will.
The Brand Shoot Planning Checklist
Use this checklist one to two weeks before your session. Keep it practical. The goal is not to control every frame. It is to give the creative process enough structure to move with confidence.
Image uses and formats: List every planned use, including website banners, social posts, email campaigns, press, LinkedIn, speaker materials, and print. Note whether each placement needs vertical, horizontal, or square-friendly images.
Brand direction: Define your primary message, preferred color palette, visual references, and any words you want the images to avoid. “Approachable” and “casual” can look very different, so be specific.
Shot priorities: Identify your non-negotiables. A founder may need a polished headshot, an environmental portrait, working details, team interaction, and several images with room for text.
Wardrobe: Plan complete looks, including shoes, underlayers, accessories, and grooming details. Photograph each outfit on your phone in advance to see how colors and proportions work together.
Props and products: Bring only items that reinforce your work. A laptop, notebook, product packaging, tools, or signature materials can add context. Random props create visual noise.
Location logistics: Confirm arrival time, parking, access instructions, room availability, power needs, permits if applicable, and a weather backup for outdoor plans.
People and timing: Confirm anyone joining the shoot, from team members to hair and makeup professionals. Build in time for arrivals, wardrobe changes, touch-ups, and transitions.
Final preparation: Steam clothing, remove retail tags, clean glasses and product surfaces, charge devices, and pack backups for small but essential items.
Plan Wardrobe for Range, Not Excess
Three well-planned outfits generally create more range than a suitcase of options. Start with the look that most clearly represents your current professional identity. Then add variation through layers, color shifts, or a more relaxed silhouette.
Solid colors often photograph cleanly, especially when they align with your branding. Texture can add depth: a structured blazer, a crisp shirt, quality knitwear, a silk blouse, or an interesting jacket. Small patterns can work, but very tight prints may distract or create visual interference on camera.
Fit matters more than the label. Clothing that lets you stand, sit, move, and breathe naturally will photograph better than something visually impressive but restrictive. If you are between sizes or unsure about a piece, try it on while posing in front of a mirror or camera. Raise your arms, sit down, turn sideways, and check how it holds its shape.
For brand sessions, avoid bringing only black if your goal is variety. Black can be striking and sophisticated, but an entire gallery in one dark tone may limit how images work across a bright website or social feed. A second neutral or a brand-forward color gives your gallery more flexibility.
Create a Shot List Without Directing Every Frame
A shot list is useful when it describes categories, not rigid poses. Rather than asking for “25 photos smiling at camera,” prioritize the situations and compositions your brand needs.
For example, a personal brand shoot may include direct-to-camera portraits, walking or transitional frames, seated images, close-up details, working scenes, and images with intentional negative space. A product-based business may need founder portraits alongside process images, packaging details, customer-facing moments, and clean product imagery.
Share priorities with your photographer early. That makes it easier to plan lighting, setup changes, and the right amount of time for each section. It also creates room to capture the unexpected frames that often become the strongest images.
Leave room for real expression
You are not expected to arrive knowing how to pose. Good direction is part of a professional brand session. The camera responds to small shifts in posture, chin angle, hands, breath, and attention. Those details shape whether an image feels stiff, natural, commanding, or open.
Your only job is to be present and willing to move. Avoid studying dozens of poses the night before. Instead, arrive with your visual direction clear, your wardrobe prepared, and enough time that you are not walking in rushed.
Protect the Timeline
A compressed schedule is one of the fastest ways to lose variety. If you want multiple locations, several wardrobe changes, product setups, or team images, account for the transitions. A five-minute drive can become twenty minutes once parking, carrying items, and resetting are included.
Prioritize the essential shots early, especially if daylight or a busy location is involved. Save experimental ideas for later, once the core content is secure. That sequence gives the session a strong foundation without making it feel overly controlled.
If hair and makeup are part of the plan, schedule them with a buffer. You want to begin photography looking fresh, not stepping out of a chair at the exact start time. Bring blotting papers, a lint roller, powder if you use it, and a small touch-up kit that matches your routine.
Plan for the Life of the Gallery
Your shoot does not end when the images are delivered. Set aside time to update your most visible touchpoints while the gallery feels current: website, LinkedIn, booking pages, speaker bios, social profile images, email signatures, and press materials.
Use the polished hero image where first impressions matter. Then rotate supporting images over time rather than posting the entire gallery in one week. A single session can support months of consistent marketing when the images were planned for multiple uses from the start.
For Bay Area professionals who want commercial clarity with a more editorial eye, MooD-ology Photography approaches brand sessions as art direction with a business purpose. The aim is not to make you look like someone else. It is to make your public-facing presence feel more like the version of your work you are building toward.
Bring the strategy, the wardrobe, and the willingness to be seen. Let the camera handle the proof.


Comments